I always stalk.. Err, I mean, read the posts from this link-up so I'm pretty pumped (aka i was dancing around all night last night thinking about this) that I get to participate!
Linking up with two of the most adorable bloggy best friends, Steph and Katie! (ps. you should already be following and reading Steph because I've already mentioned her this week and told you to get your hiney to her site! but now go follow Katie too!)
Saw it on iHeart Organzing.
Pinned it to my Pinterest. (are you following me yet?)
Did it Monday night!
Trust me, refer to the original pin if you want the super detailed way to get this done.
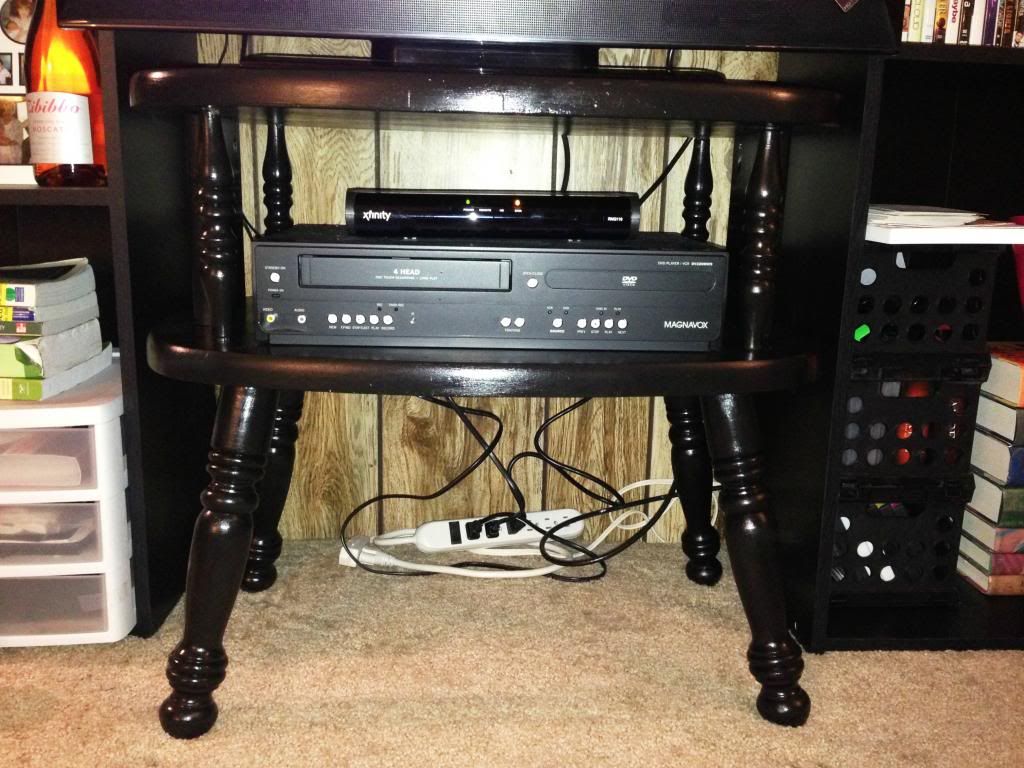
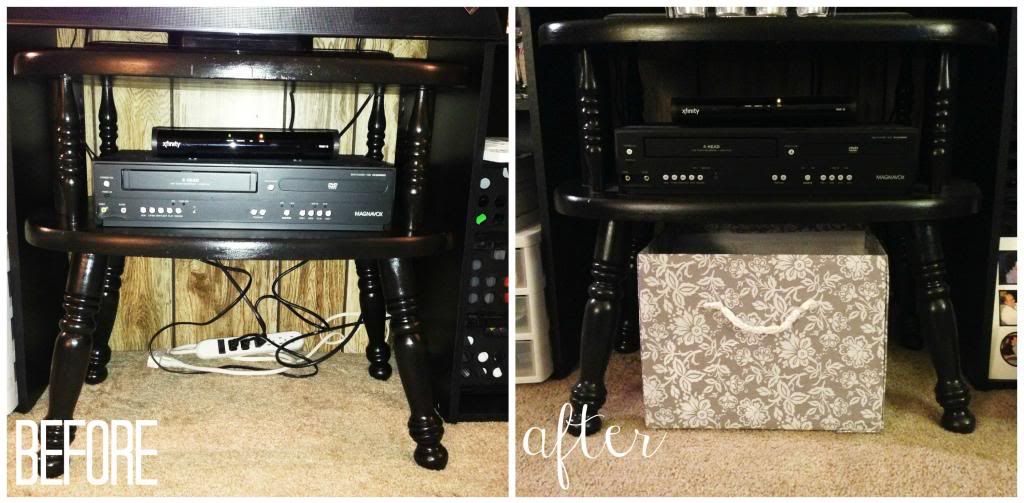
Basically I had this weird space underneath the table my tv goes on. When you were sitting on the couch you could see my mess of cords in the back. Not cute.
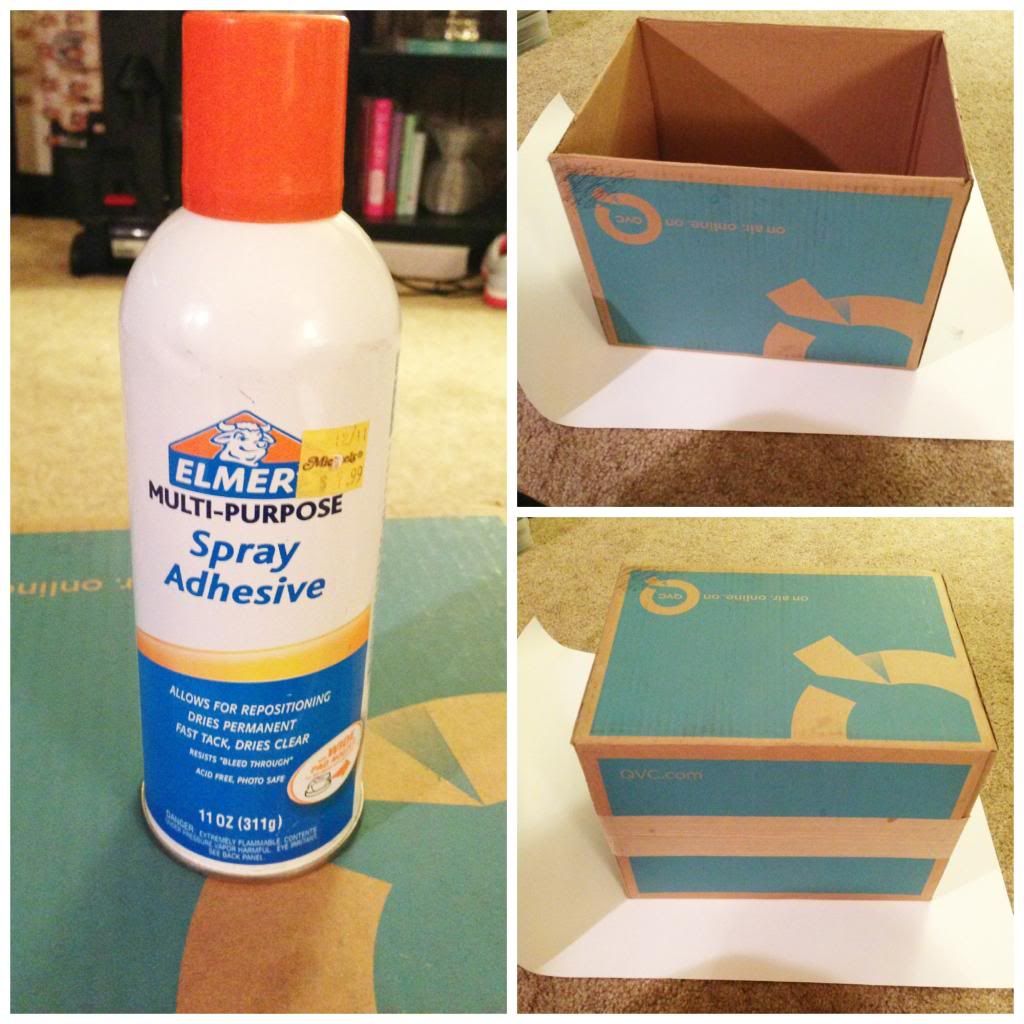
I used an old poster board to work on and dug out my can of spray adhesive.
Full disclosure, I'm not a fan of this spray adhesive. It's what I had and it was $7.99 so I'm going to use it until it's gone, but I probably won't buy it again.
Also, here's a lesson for everyone that I learned the hard way.. twice.. Wear rubber gloves when you do this. The spray adhesive WILL get on your hands no matter how careful you are and you WILL end up spending 20 minutes getting it off of your hands. So add gloves to your materials list. Unless you get a better spray adhesive, in which case maybe this won't be a problem for you because it won't suck as much as my spray adhesive. I wonder how many times I can say spray adhesive in this post? Spray adhesive.
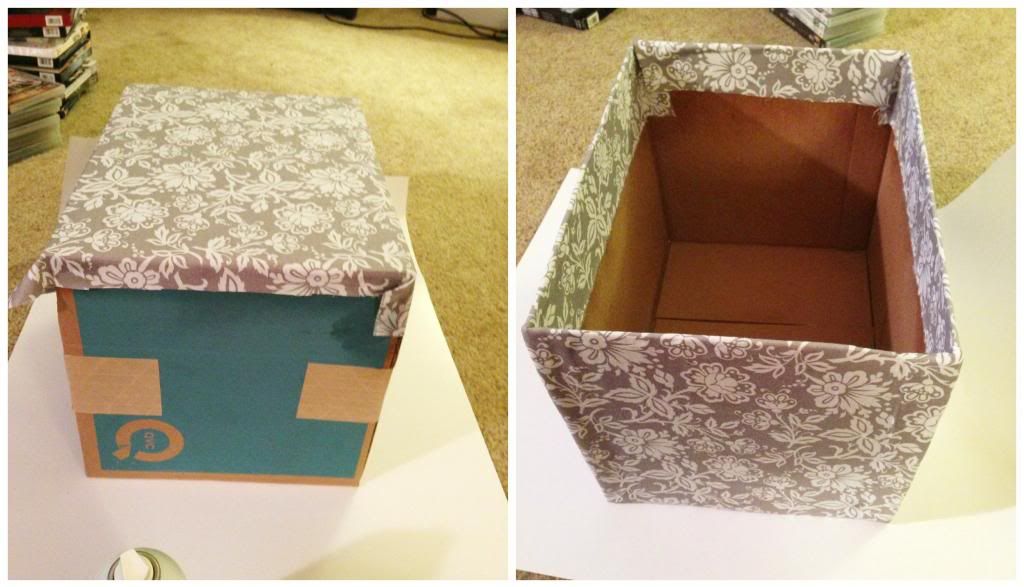
I sprayed a thin, even layer of the adhesive onto my box and draped the fabric over it, smoothing it out as I pressed it down. Repeat on all sides. I had cut my fabric for the outside into 4 pieces, one for each side.
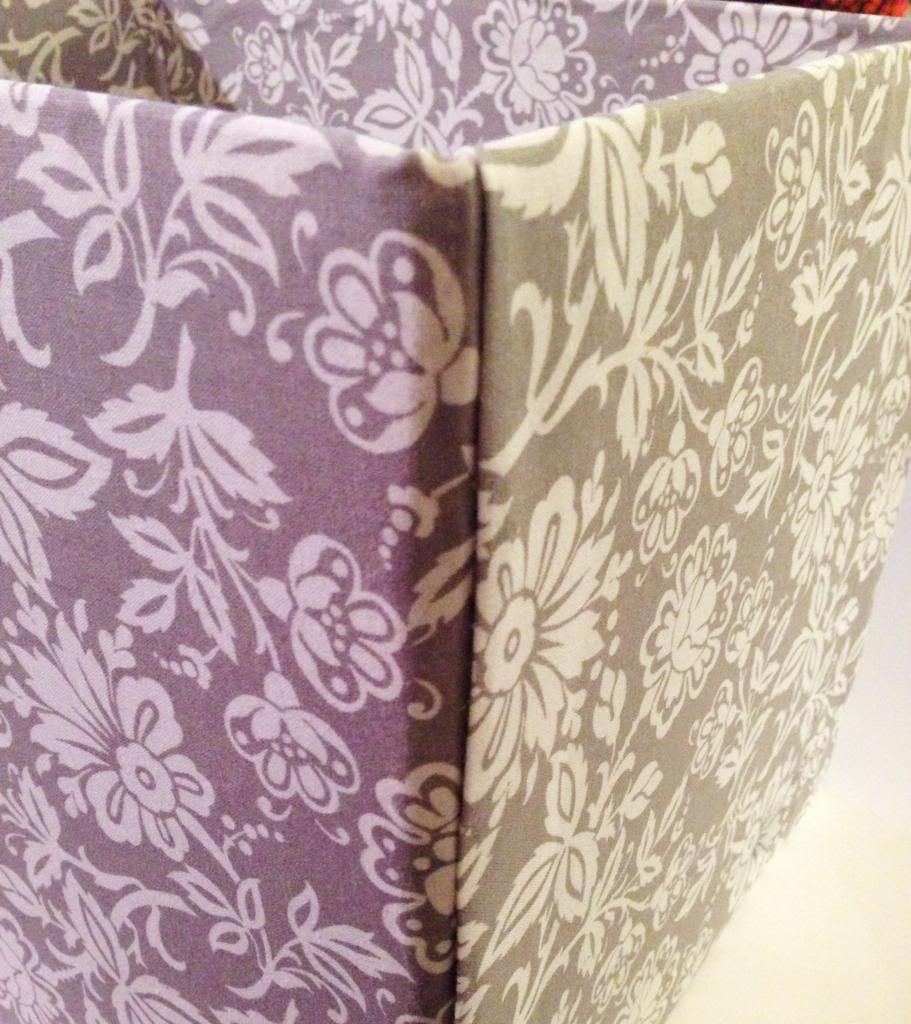
Oh and here's a better look at what I did on the edges. I don't know if this was the correct way or not, but it's what I did and it works.
Then this is where I couldn't take pictures anymore because I was covered in spray adhesive. Refer to the Original Pin for help doing the fabric on the inside. Jen from iHeart Organizing does a great job explaining her process! Promise.
To make a little handle, I just used thick ribbon and braided it together. Then instead of making holes in my box like the Original Pin, I just hot glued it on. It's going to just be decorative anyway. If you were actually going to use it as a handle, refer to the Original Pin.
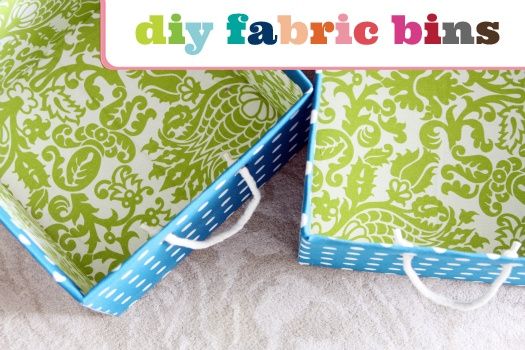
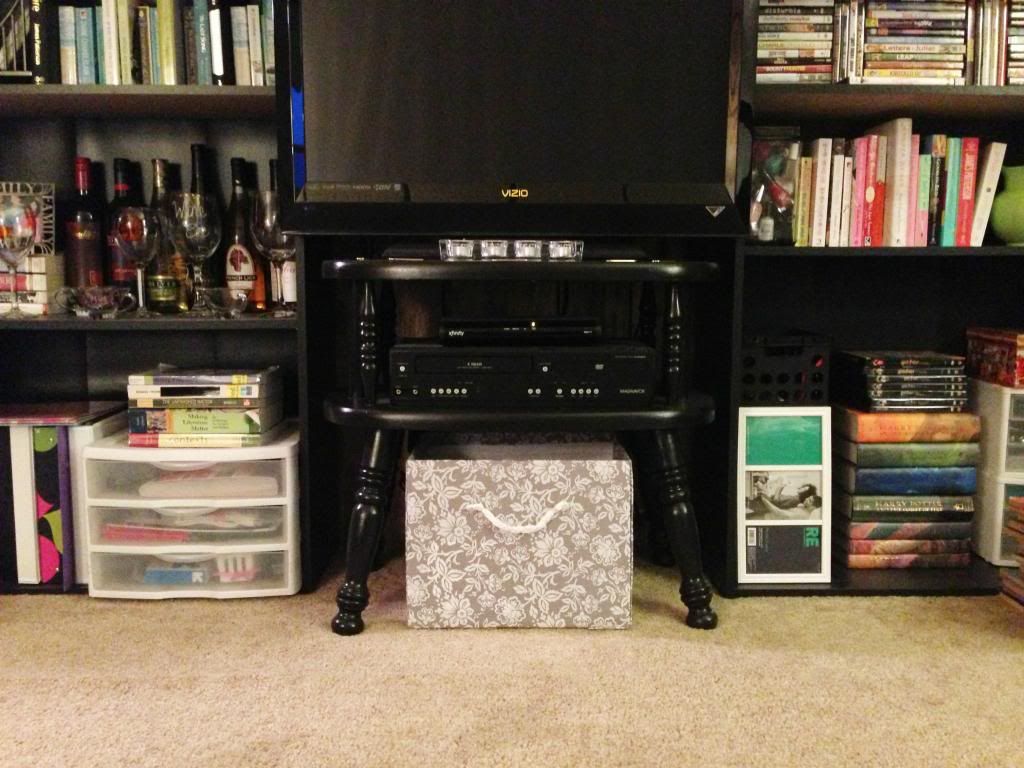
After all was said and done, here's what I ended up with!
Cost Breakdown:
Cardboard box - $0 (free from my grandma)
Spray Adhesive - $0 (only because I already had it, but it was originally $7.99)
1.5 yards of Fabric - $7.98
Ribbon - $0 (I already owned it, but was originally $1.49)
Total Cost - $7.98
If you didn't already have the stuff I owned, it might end up costing you a little more and in that case buying a bin might be more cost effective. To each his own!
So I'll leave you with this!
I'm in love!
OH and come back tomorrow, I have something very special for you guys! Hint: Mother's Day!



this looks fantastic! May have to do this for my baby nursery
ReplyDeleteI'm in love with this!!! Such a great idea. I hate seeing all the cords behind TVs too...not attractive. I'm definitely trying this. I'm always look for storage and love that I can do my own. I admire all the stores containers like this when I go to stores but they are never the right size or look nice and mostly are too expensive. So thank you for this!!
ReplyDeleteNice! You did a great job! :)
ReplyDeleteAnd tip - ALL spray adhesive sucks in that it gets all over you. Makes your fingertips all sticky so you cannot touch anything. Boo!
Stopping by from the SPD Linkup! Glad you participated :)
I love this! You did any amazing job! And I love the fabric you picked
ReplyDeleteI love that fabric! Such a great idea to cover those cords!
ReplyDeleteThis is cute!! Great idea to use in a small space!
ReplyDeleteUgh I hate spray adhesive too! I recently did a project with cut out circles and it got ALL over my hands. Looked horrible & took forever to get off!